Tile Grout Repair: Fix Cracks And Chips Like A Pro
04/11/2023
You know how frustrating it is when your beautiful tile floor or shower starts to show signs of damage and wear. Cracks, chips, and stains in the grout can make a space look shabby and unkempt. But don't be dismayed, you've got this! With a little time and elbow grease, you can refresh and repair your tile grout like a professional.
In this article, we'll walk you through the steps to fix common grout problems and get your tile looking as good as new. We'll show you how to properly clean and reseal grout to prevent stains. And for cracks or chips in the grout, we'll demonstrate how to patch and re-grout those areas so they blend in perfectly.
Tile installation is an investment, so protecting that investment by maintaining the grout is key. Follow these tips and your tile floors, showers, counters and more will stay looking their best for years to come. You've got the power to DIY this, we're here to help you through it. Let's get started!
Common Causes of Tile Grout Damage
The most common causes of damage to tile grout are moisture, improper installation, and normal wear and tear.
Moisture
Grout’s biggest enemy is moisture. Even just a bit of water can soften and weaken it, eventually leading to cracks. You should make sure that any spills are cleaned up right away and leaks are taken care of swiftly. To control humidity levels you can use a dehumidifier.
Improper Installation
Grout can easily start breaking down after being installed if it was mixed improperly or applied the wrong way. Even grout that is exposed to moisture before it’s fully set can become damaged early on. The only way to fix this is by regrouting, which can be a whole other headache for most people.
Normal Wear and Tear
Even when installed properly, grout will start to show signs of aging over time with normal use and foot traffic. Small cracks, chips, and scratches are inevitable, especially in high-use areas like kitchens and bathrooms. Resealing grout every 6-12 months can prevent premature wear and extend its life but touch-ups and repairs will still likely be needed.
By regularly maintaining it and making quick repairs, you can keep your tile grout looking fresh for years to come. Try to wipe up spills as soon as they happen, control humidity, reseal it when necessary, and fix any cracks or chips as soon as you notice them. Your tiles will love you and your grout will last longer.
DIY Tile Grout Repair Techniques
When your tile grout starts to crack or chip, don't despair. There are several easy ways you can repair it yourself.

Clean out loose debris
First, use a utility knife, chisel, or rotary tool to widen any cracks and remove loose pieces of grout. Clean out the gaps thoroughly with a vacuum to remove all dust and debris.
Seal minor cracks
For hairline cracks, you can apply a tile grout sealer or caulk. Use a putty knife or caulk gun to fill in the cracks, then wipe away excess with a damp cloth. Let it dry completely. This works best for cracks 1/8 inch or less.
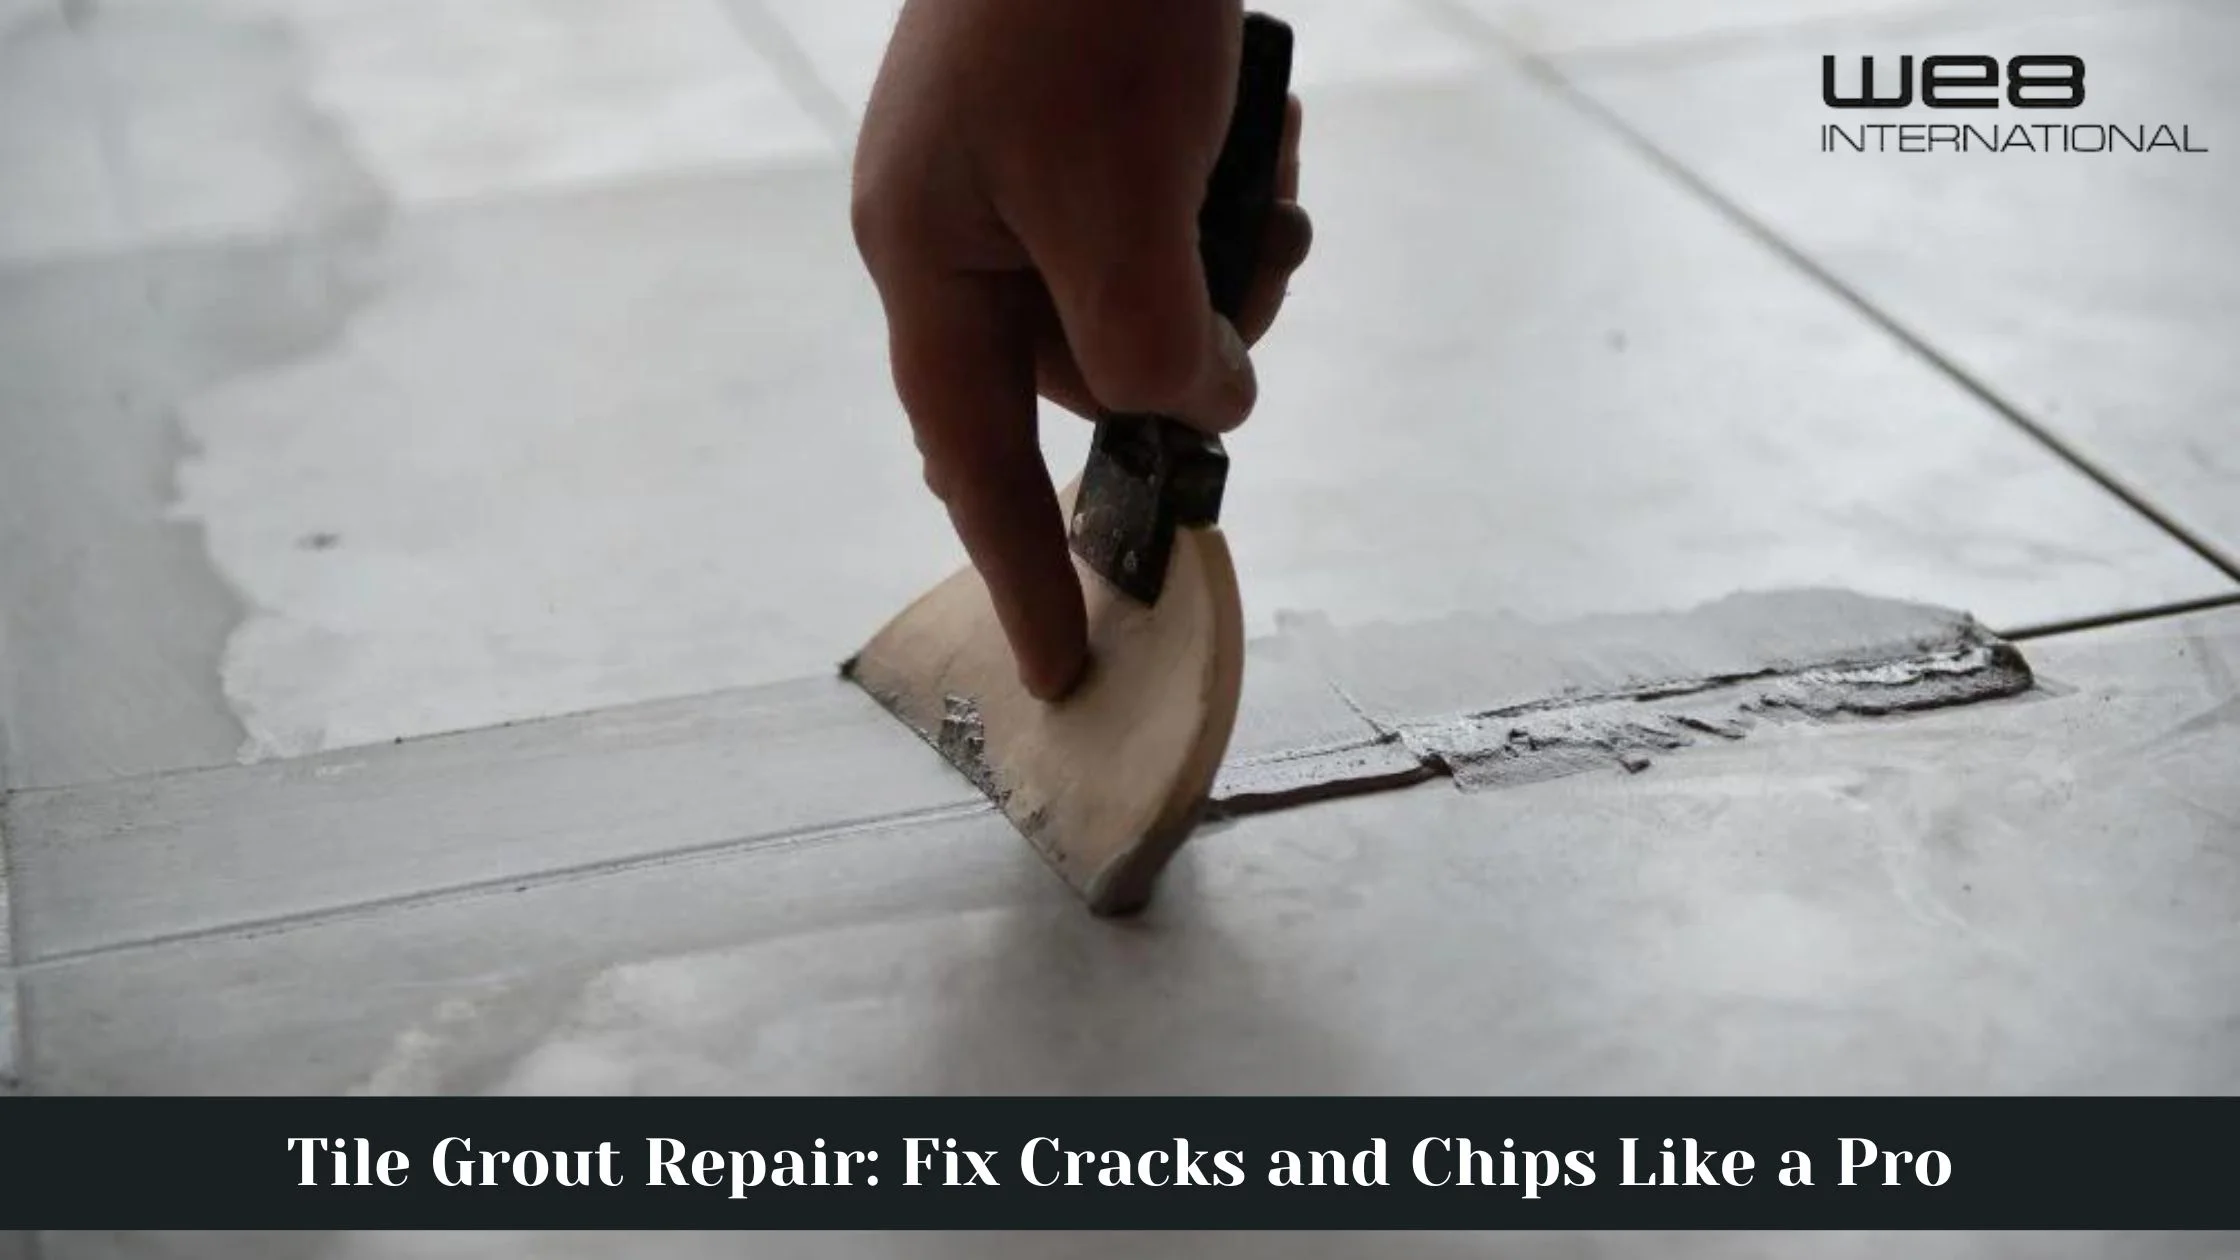
Repair chips and small holes
To patch chips, holes, and cracks up to 1/4 inch, make a paste from premixed grout compound and water or grout sealer. Apply with a putty knife or caulk gun and let dry. For the best color match, choose a grout that closely resembles your existing grout.
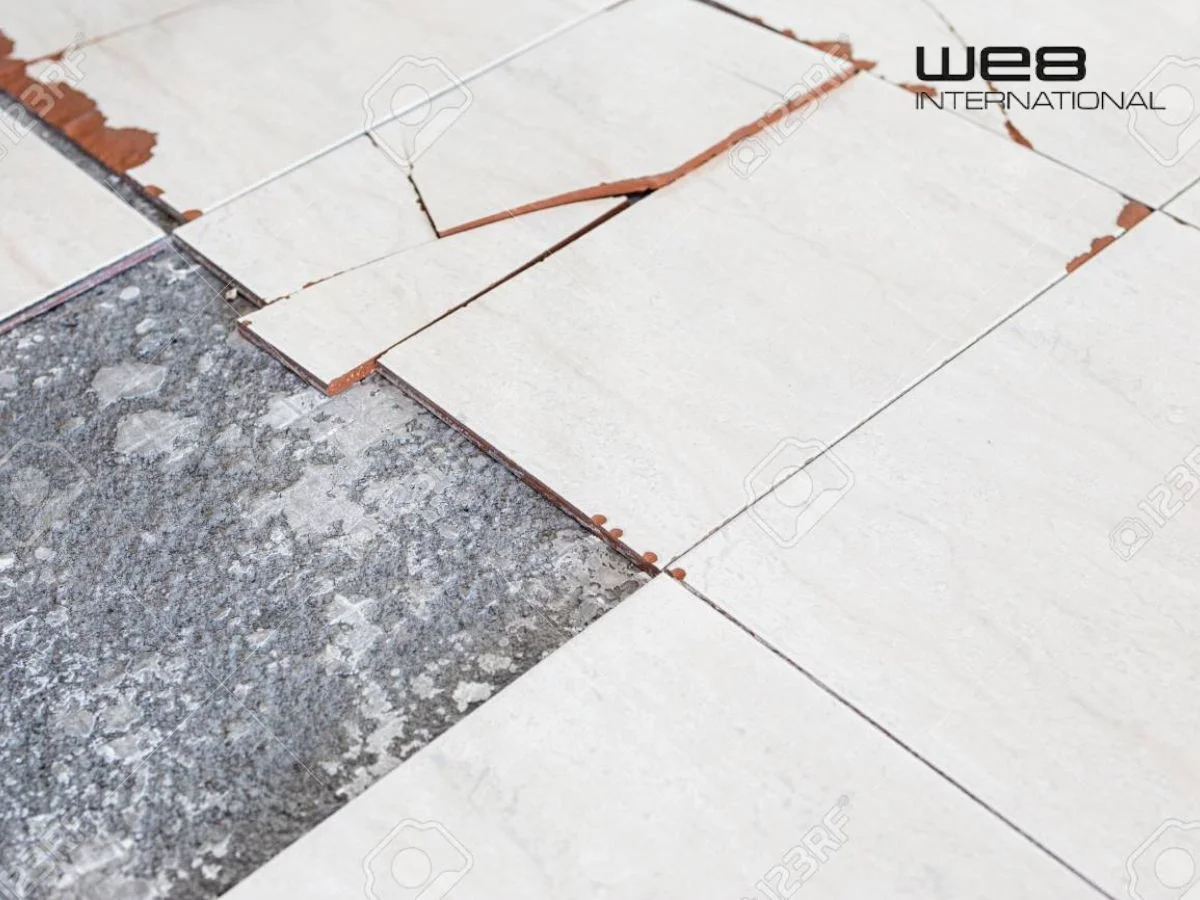
Re-grout for large cracks
For cracks wider than 1/4 inch, it’s best to re-grout. Carefully remove grout around the crack using a utility knife and chisel. Then apply new grout with a grout float, pressing firmly into the joint. Wipe away excess with a damp sponge once dry for a smooth finish.
With some time and patience, you can make those unsightly cracks and chips in your tile grout disappear. Your floors and walls will be looking like new again in no time!
When to Call a Professional for Tile Grout Repair
At some point, even the most meticulously installed tile grout will start to show signs of damage or wear and tear. When cracks become wider than 1/8 inch, chips become larger than a dime, or grout starts falling out in chunks, it’s time to call in the pros for tile grout repair.
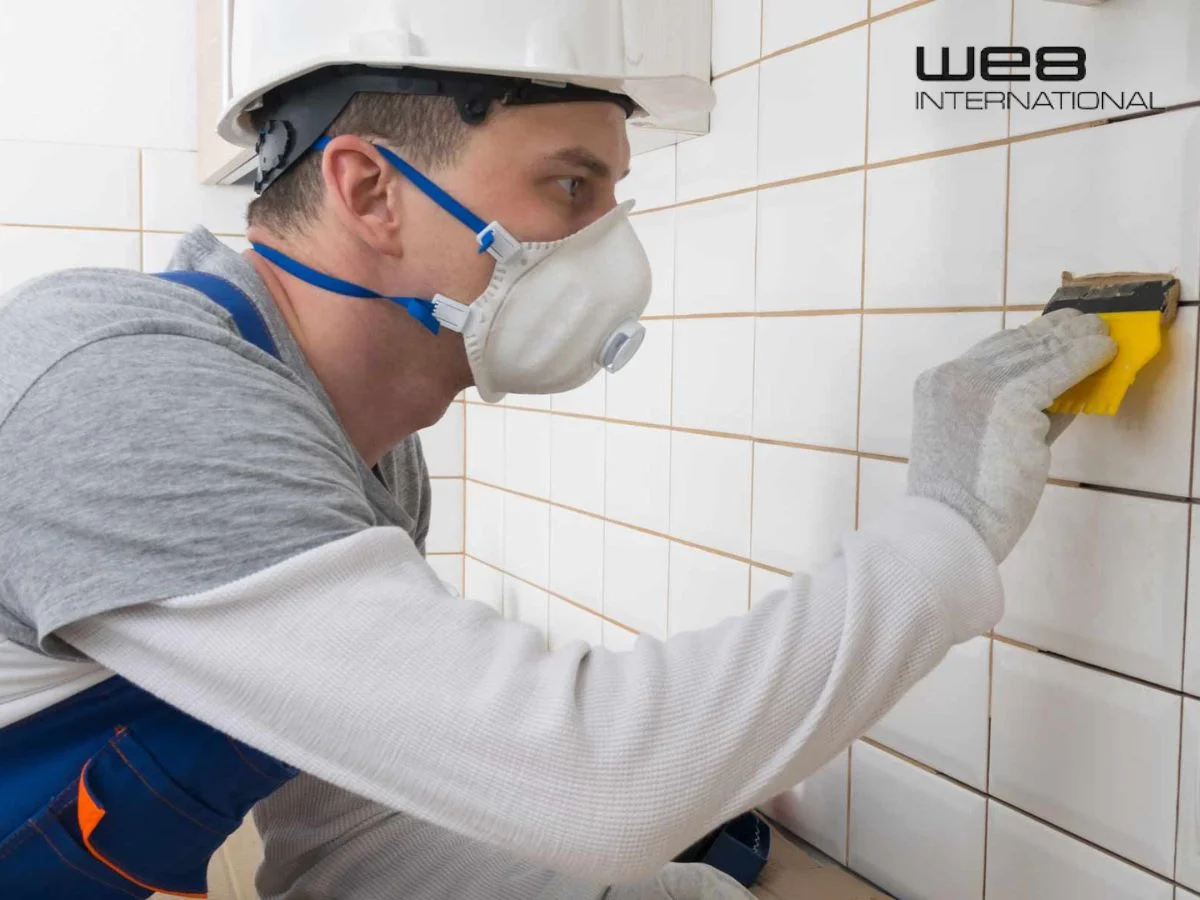
DIY grout repair kits can work for small, superficial cracks and chips, but for more extensive damage, professional regrouting is needed to restore your tile and prevent water damage or loose tiles. Tile contractors, handymen, and some general contractors offer tile grout repair and regrouting services. They have the proper tools, training, and experience to do the job correctly.
Some signs you need professional tile grout repair:
-
Cracks wider than 1/8 inch. These indicate structural movement or damage and require professional evaluation and repair to prevent loosening or breaking tiles.
-
Large missing pieces or holes in the grout. Anything larger than a dime size can allow moisture to penetrate the tile substrate, causing water damage over time.
-
Grout crumbling or falling out. If grout is deteriorating to the point of falling out in chunks, it needs to be removed and replaced by a pro to avoid loose or broken tiles.
-
Grout no longer flush with tile. When grout is recessed from the tile surface, it allows dirt and grime to build up and is difficult to clean. Professional regrouting can fix this.
-
Water damage visible. If you notice water stains, damage, or mold/mildew around tiles, call a pro immediately to inspect for leaks or other issues and repair or re-grout as needed.
For the best results, look for a tile contractor or stone/tile restoration service in your area. They have the proper training, tools, and products to evaluate the issue, remove damaged grout, and re-grout your tile to like-new condition. Your tiles—and your peace of mind—will thank you.
Conclusion
Well, there you have it. Everything you need to know to repair tile grout like a professional. By following these steps, your tile grout will look good as new in no time. The key is patience, a little elbow grease, and having the right tools and materials. Once you’ve cleaned up the area it goes pretty quickly from there. Then after that.. well not much more to say really other than “congrats”. You just leveled up your DIY abilities!
With that knowledge in mind and drink in hand, you’ll be able to look at your work knowing you saved yourself money and gained another useful skill. So next time your tile grout starts showing signs of wear or damage, you’ll be ready to handle it like a pro.